Hi and welcome to my last post for this summer! Here is part two on making a cover. At the end, you will also be able to listen to what I made while making this tutorial!
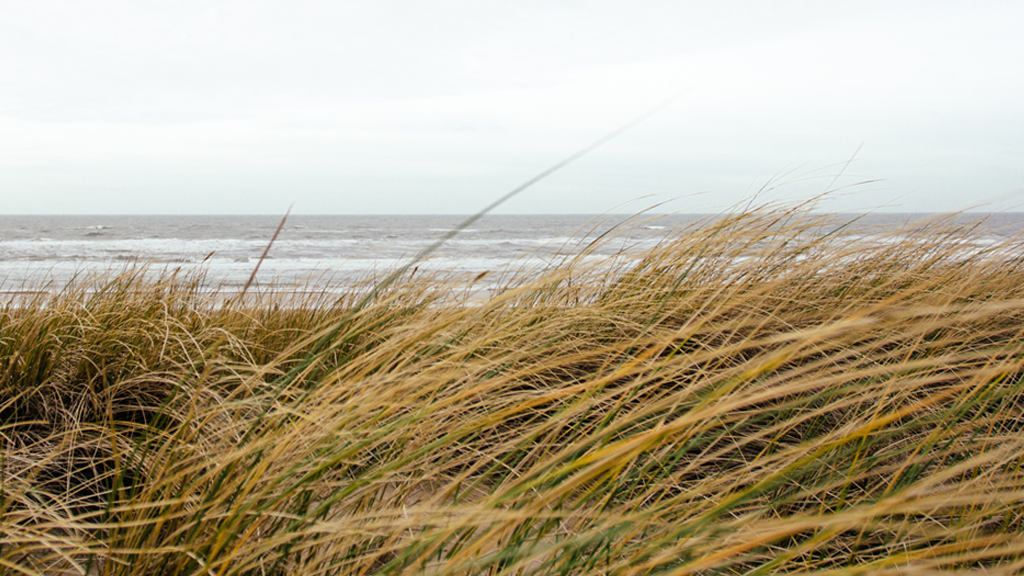
After finish recording your song, You will need to make some edits to your song to make it sound better! One way is to use the Equalizer, which is located to the right of your project. In GarageBand, it is named “Visual EQ”.
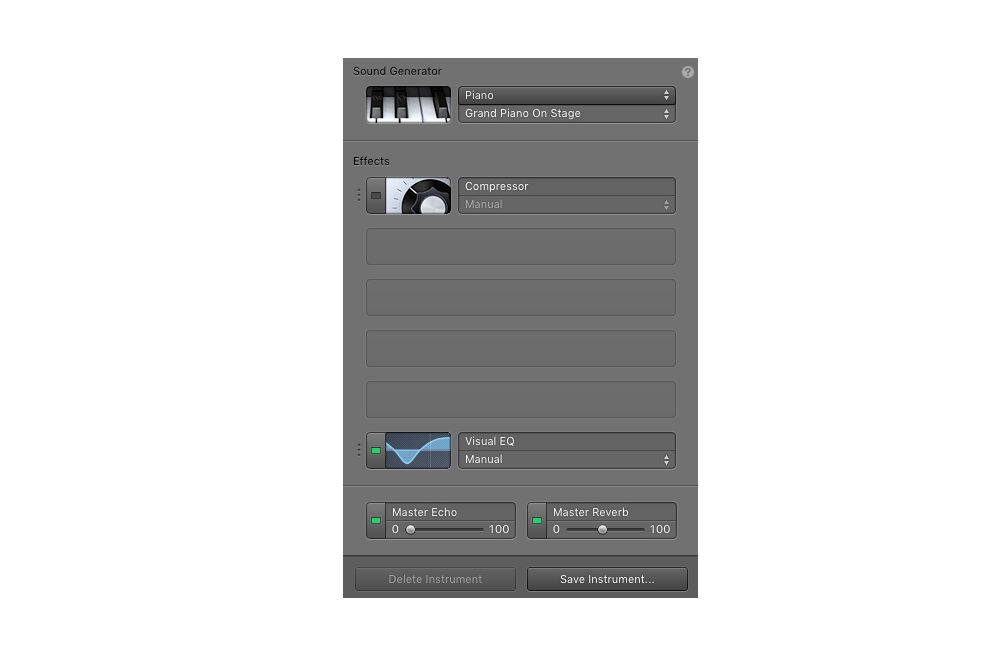
When you click on the EQ, it will give you a new window. You will see that there is already a little hill in the section marked “treble”. You will be able to raise another “hill” if you go to a different section. (it will be better if you raise one in the bass section.)
We use the equalizer to edit the sound quality of the song itself. If it sounds really bad when you lift a hill higher in that particular section, you would want to bring it down a bit so that it doesn’t sound as bad. I do this because I had noticed that speakers on different devices allows you to hear different ranges of sounds. For example, my laptop at home allows me to listen to mainly treble and mid-high sounds, which makes it difficult for me to listen to the lower ranges. But while making these covers on an iMac, the sound distribution is more even, which allowed me to listen to each range easily. So to prevent the cover from sounding bad on devices that has a higher range of sound distribution, I try to bring down the treble and mid-high a bit. Because no one wants to listen to bad quality sounds, right?
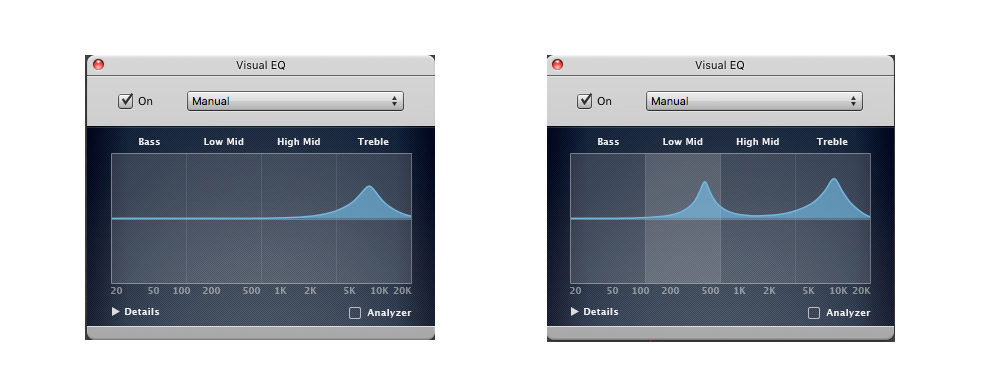
There is also the “Master Echo” and “Master Reverb” features located below the EQ. This effect only applies to the track you have selected. So if you want a certain track to echo or reverb, it is best to play that section on repeat and listen to the changes of the track recording as you change the percent of echo or reverb.
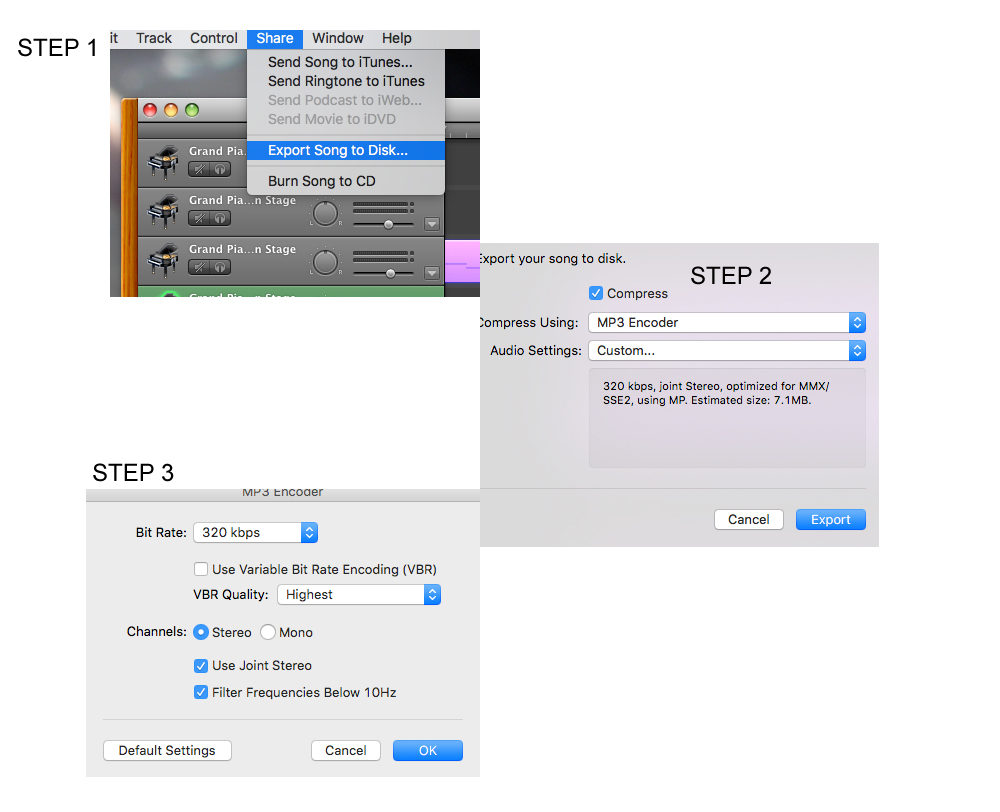
When you are done, as in really done (this includes making final edits), you will need to export it so that you can listen and share it with your friends. When you want to export, go to the top left of your screen, select “share”and “export track to disk”. It will give you a new window once you’ve selected to export. The new window will ask you to select audio settings, which allows you to select the sound quality of your cover. If you choose “custom” as your audio setting, you will see another window that allows you to choose your sound quality. Keep in mind that the higher the quality is, the more space on your device the song takes up.
(From my experience from downloading songs, the “High Quality” is generally between 7 MB and 14 MB for each song if the length of the song is between 4 minutes and 5 minutes. “Standard Quality” is between 4 MB and 7 MB.)
After you choose your audio settings, GarageBand will ask you where you want it saved. After you export it, please check the place you chose to save it at to make sure that it is successfully saved. I would recommend to save it on desktop first, and move it to where you want it after it is saved.
Now you can share with your friends, turn it into a video, or anything you want!
hank you so much for supporting my column this summer. It was really fun creating covers and learning something that I have never really used before. I really enjoyed my time here at Sunset Media Wave and I really have to say a huge thank you to the staffs at The Wave. Thank you for providing me a space where I can learn something new and create something I love.
https://soundcloud.com/sunset-media-wave/project_3/s-LtFWy