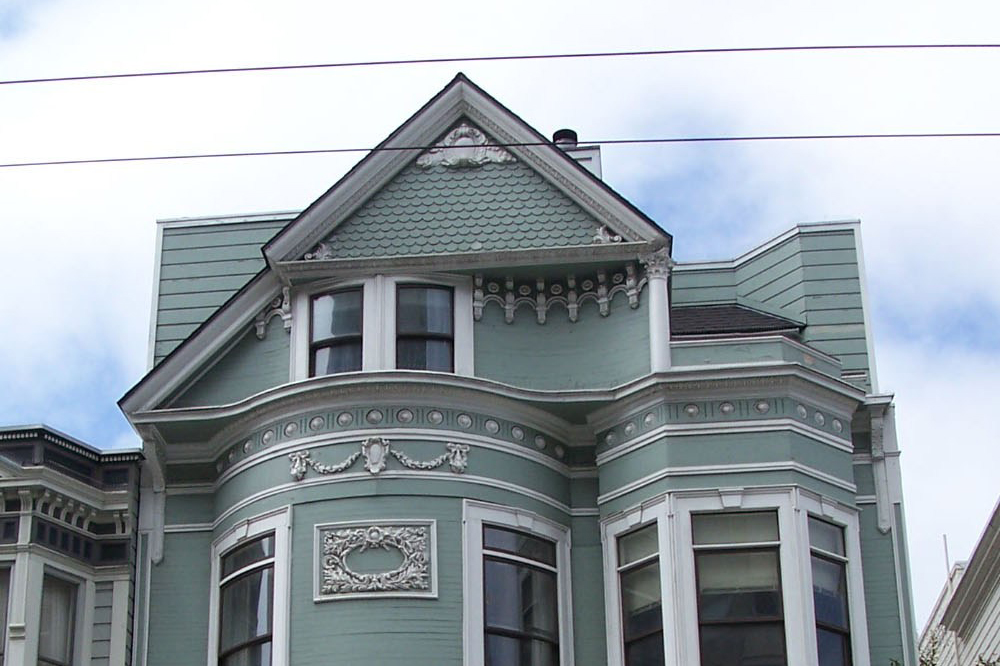
This week I visited the house that inspired it all, 1402 Post Street. It’s situated in the Western Addition district of San Francisco, right by Japantown. I’m hoping to photo my finished LEGO model on location eventually, but that was not the purpose of this visit.
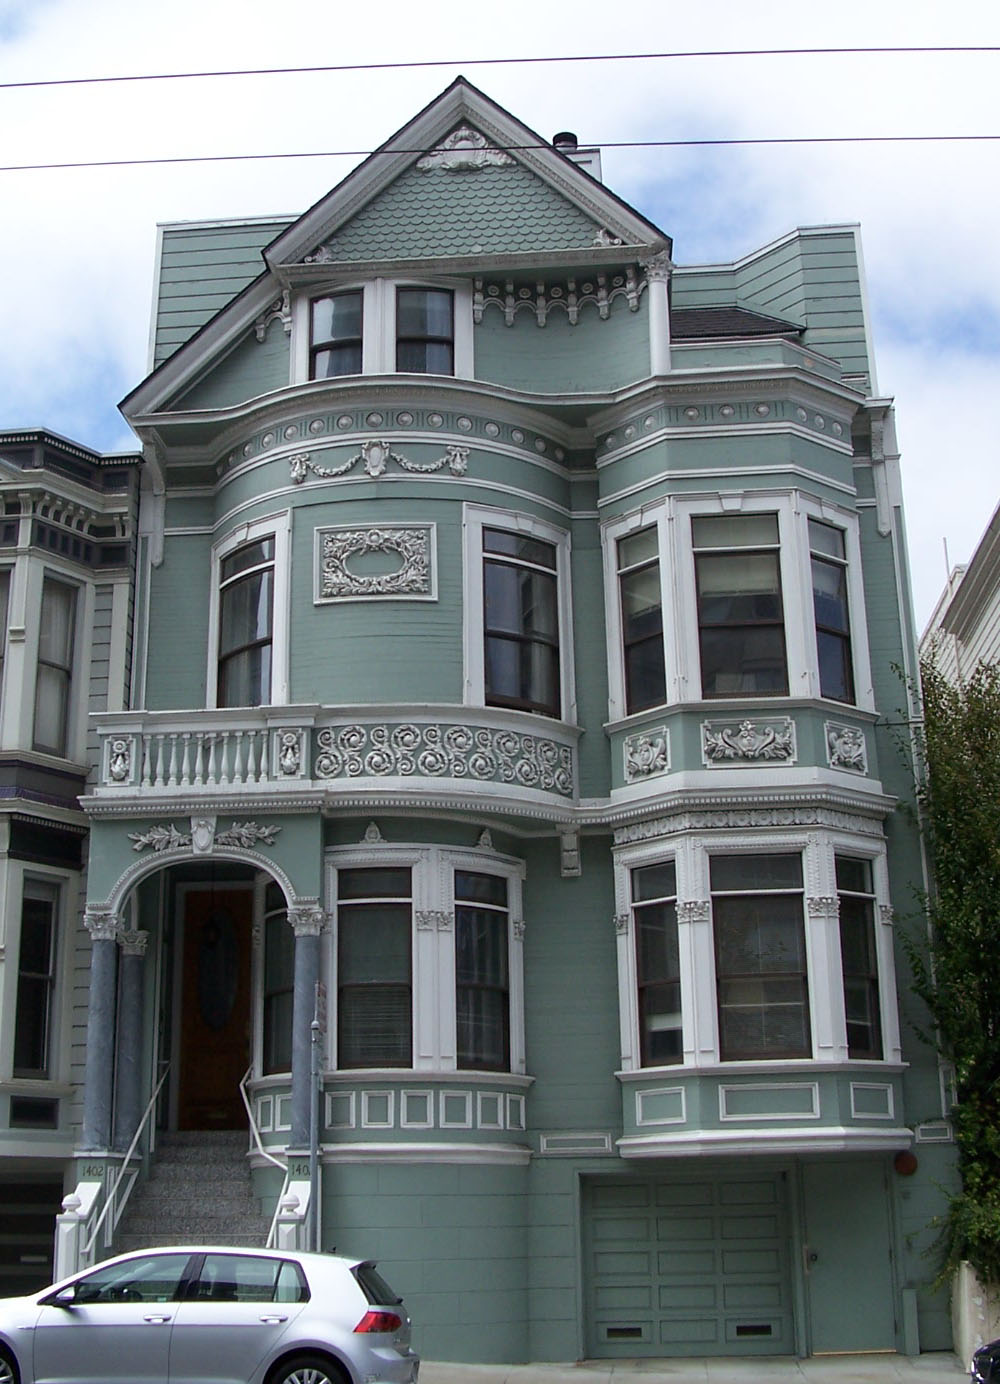
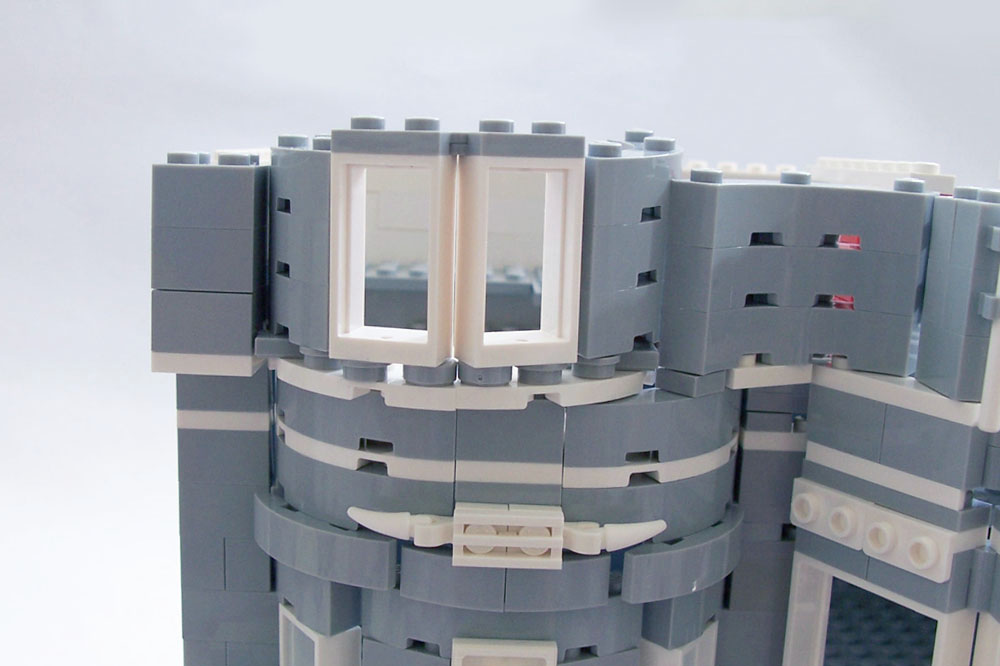
The past few weeks I’ve been using Google Maps to view the house, but seeing it in person made it easier to visually break down the parts that make up the structure. One problem that I encounter is recreating the signature wavy bay windows on the third floor. Getting the LEGOs to become that smooth calls for more experimentation, and mounting the completed wavy-bay window panel onto what I have now, will be a tough transition.
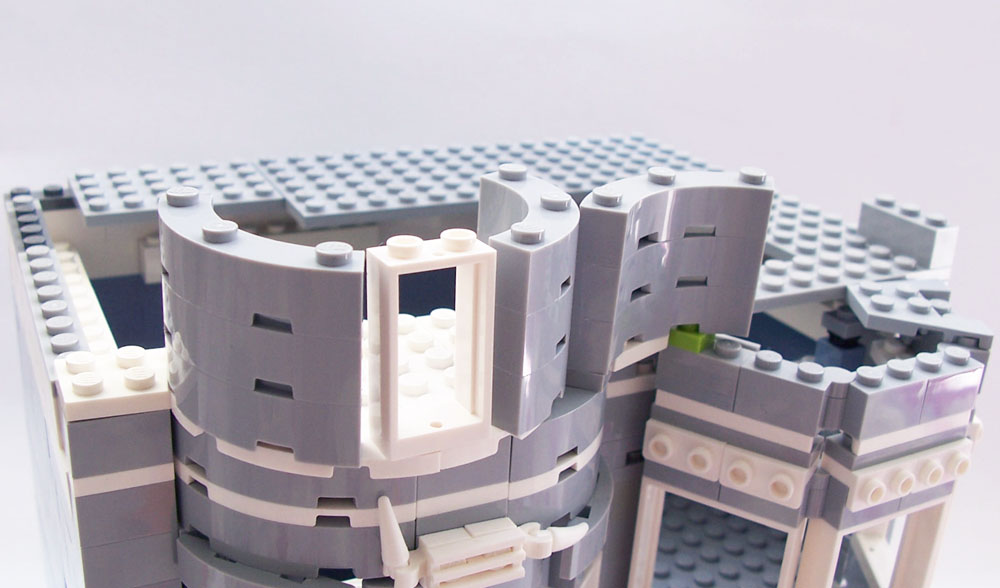
While testing out paneling for the front of the house, I realized the entire roof structure would be crooked if I kept this bay window structure.
I decided to backtrack at this point and take apart the wavy bay window structure and rebuild it using two windows instead of one.
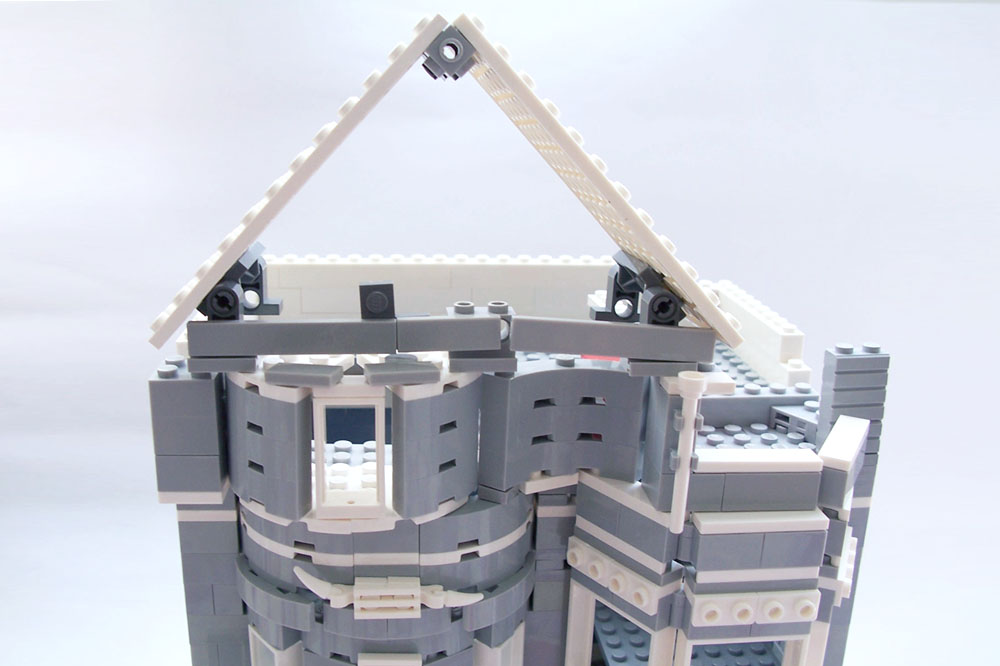
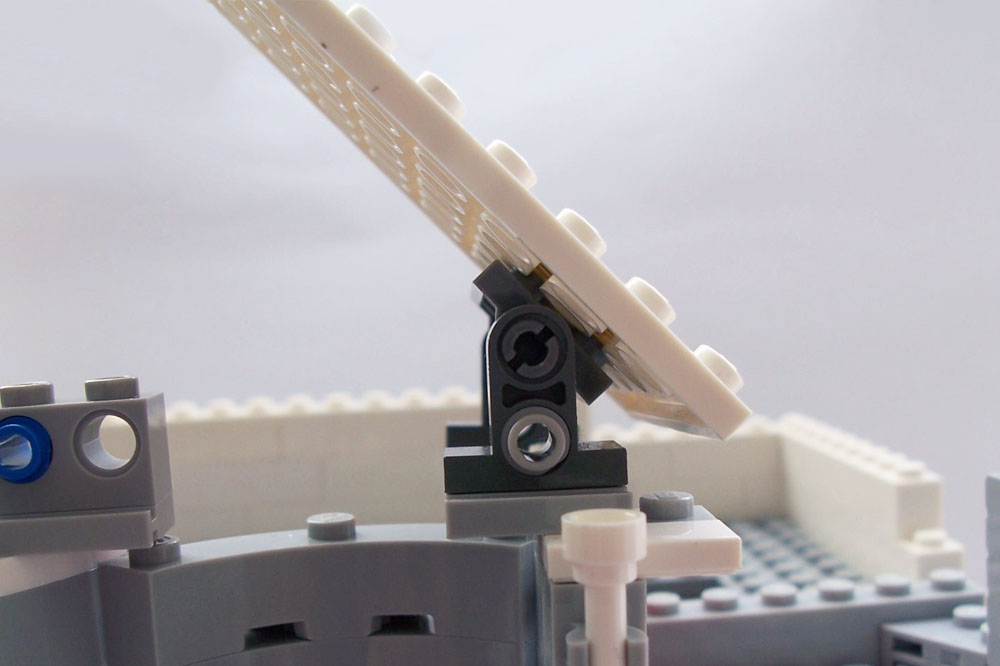
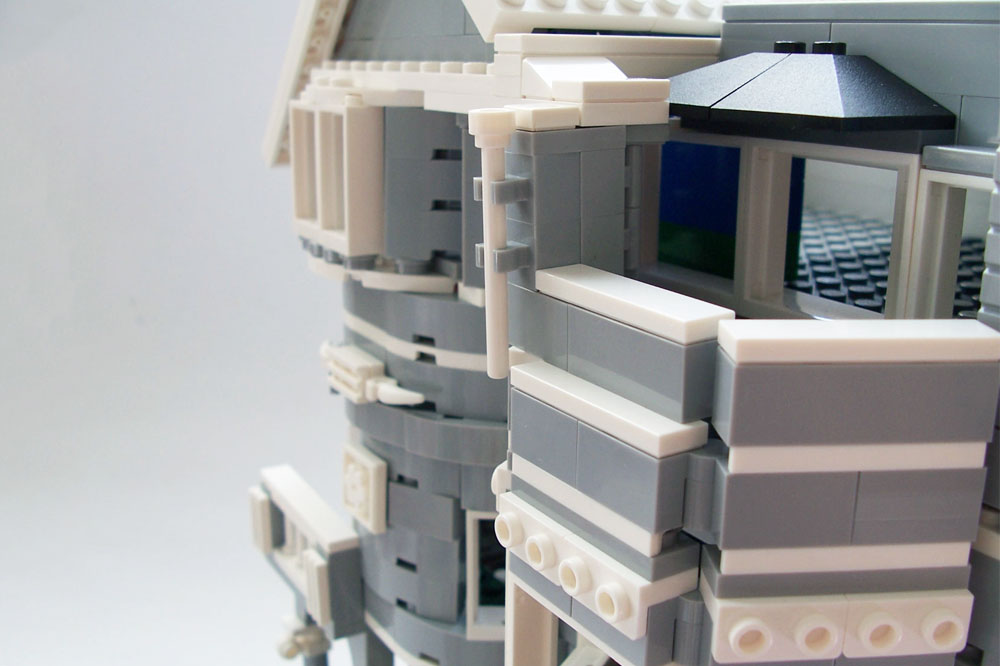
With that done, I moved onto the roof. I’ve always struggled with roofs. I tend to rush the building time, which typically results in a mess. At first glance, it seems pretty simple, but to recreate it with LEGOs tends to be more difficult. The roof lies at a 90-degree angle, which will be easy to form, but making sure the roof is stable is another story. LEGO only produces a small amount of slopes, and not all of them can be found in my selection. However, I’ve compromised with a combination of Slope 45 1×2’s and smaller cheese slopes to support the 90-degree roof, as shown below.
The roof panels are propped up by some pin connector plates.
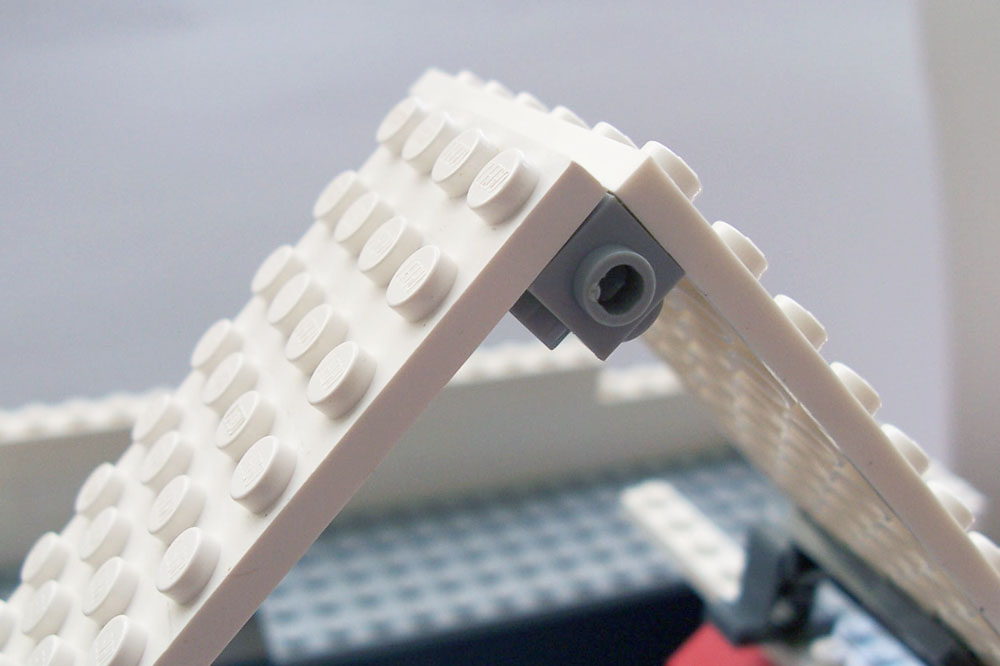
The panels are secured with a travis brick (a 1×1 brick with additional studs on all four sides).
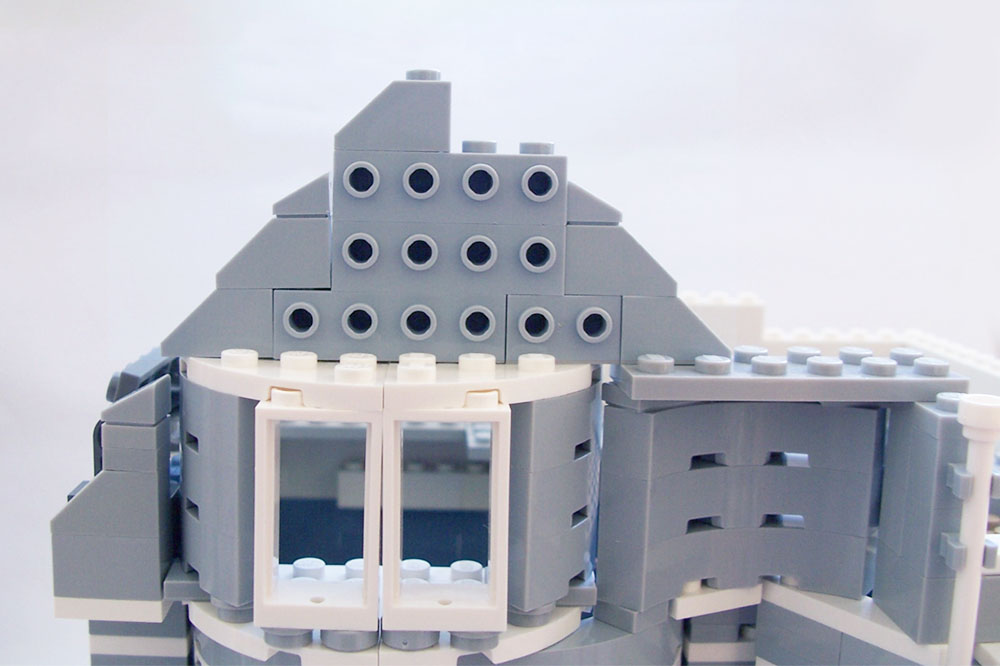
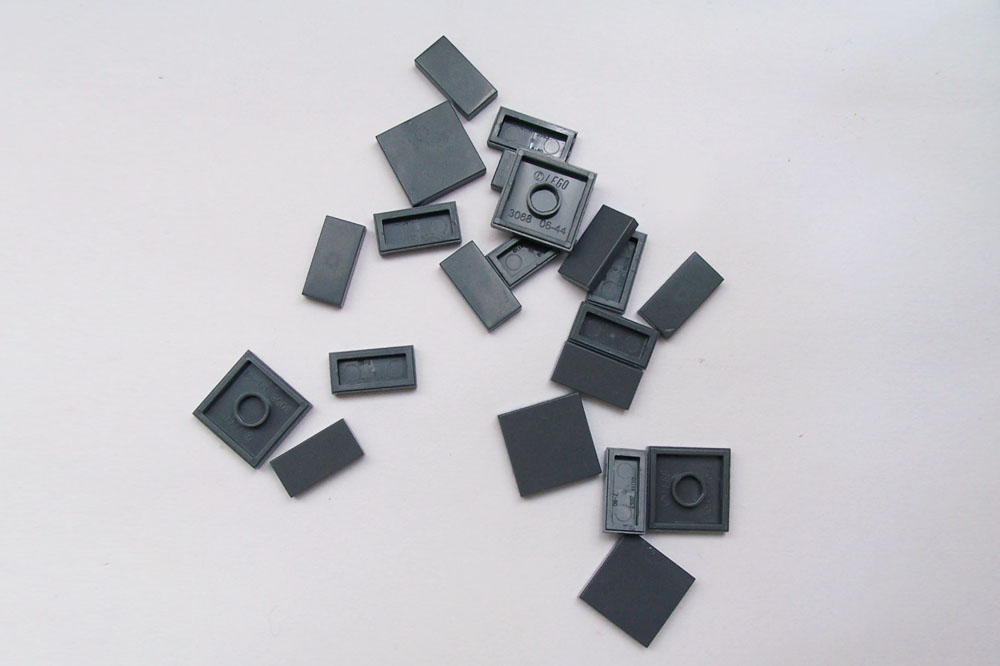
I’ve decided to have a shingled roof on my house, just to add some character. I’m using some dark bluish gray tiles for the same reason.
With these tiles, I worked on setting them onto the white plates that made up the roof structure. I set them in partially, to give it a realistic look.
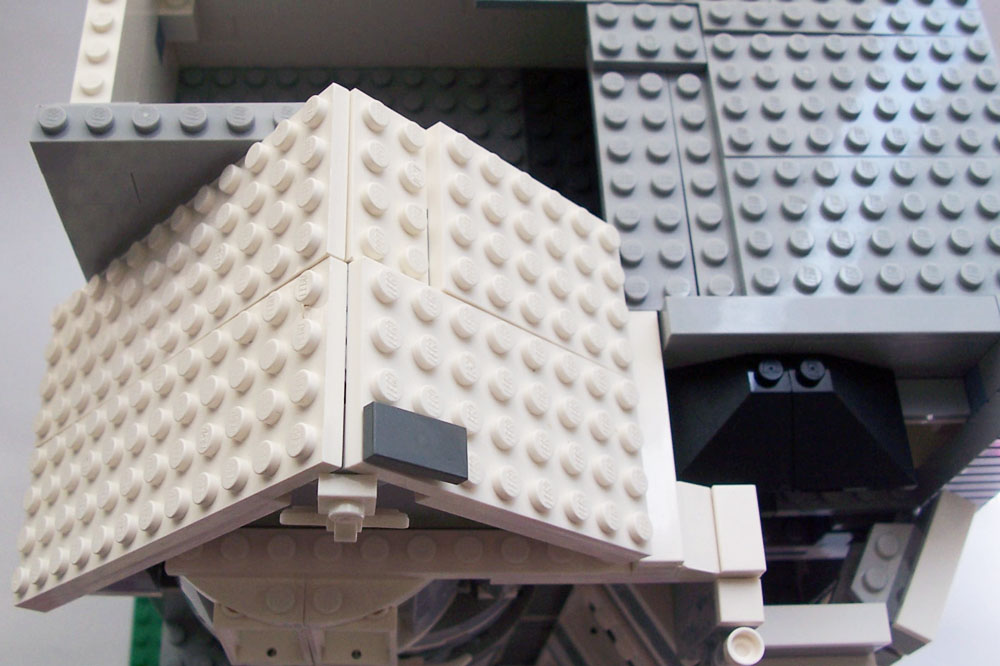
The completed roof!
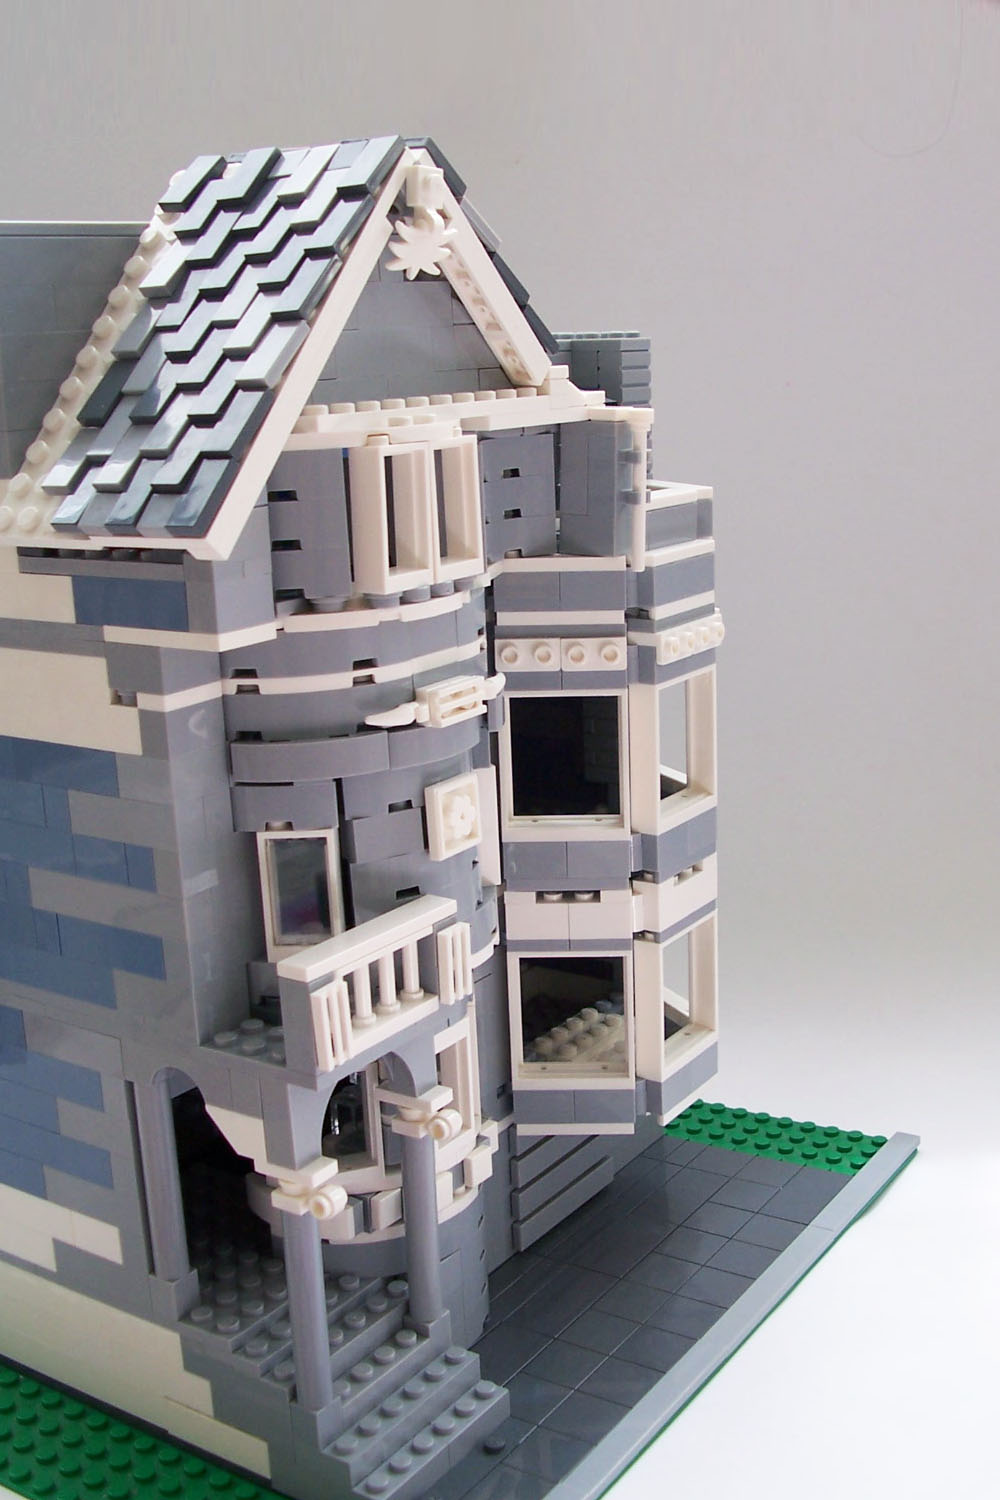
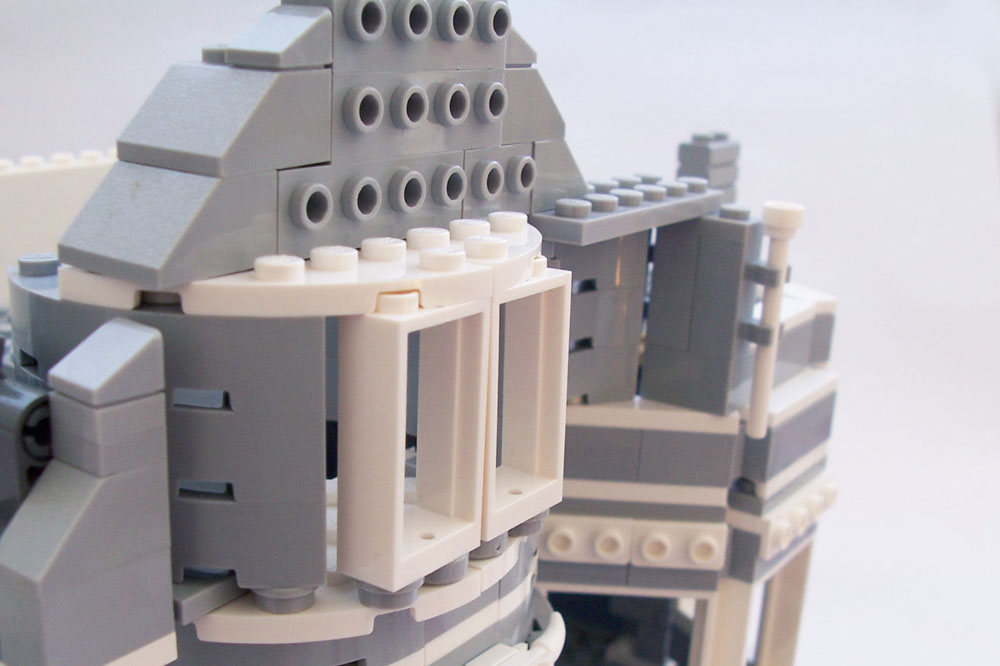
While working on the construction of the curved bay window and the roof, I worked on the balcony that is on the same level as the bay window. It was straight forward building, and you can see how it turned out below.
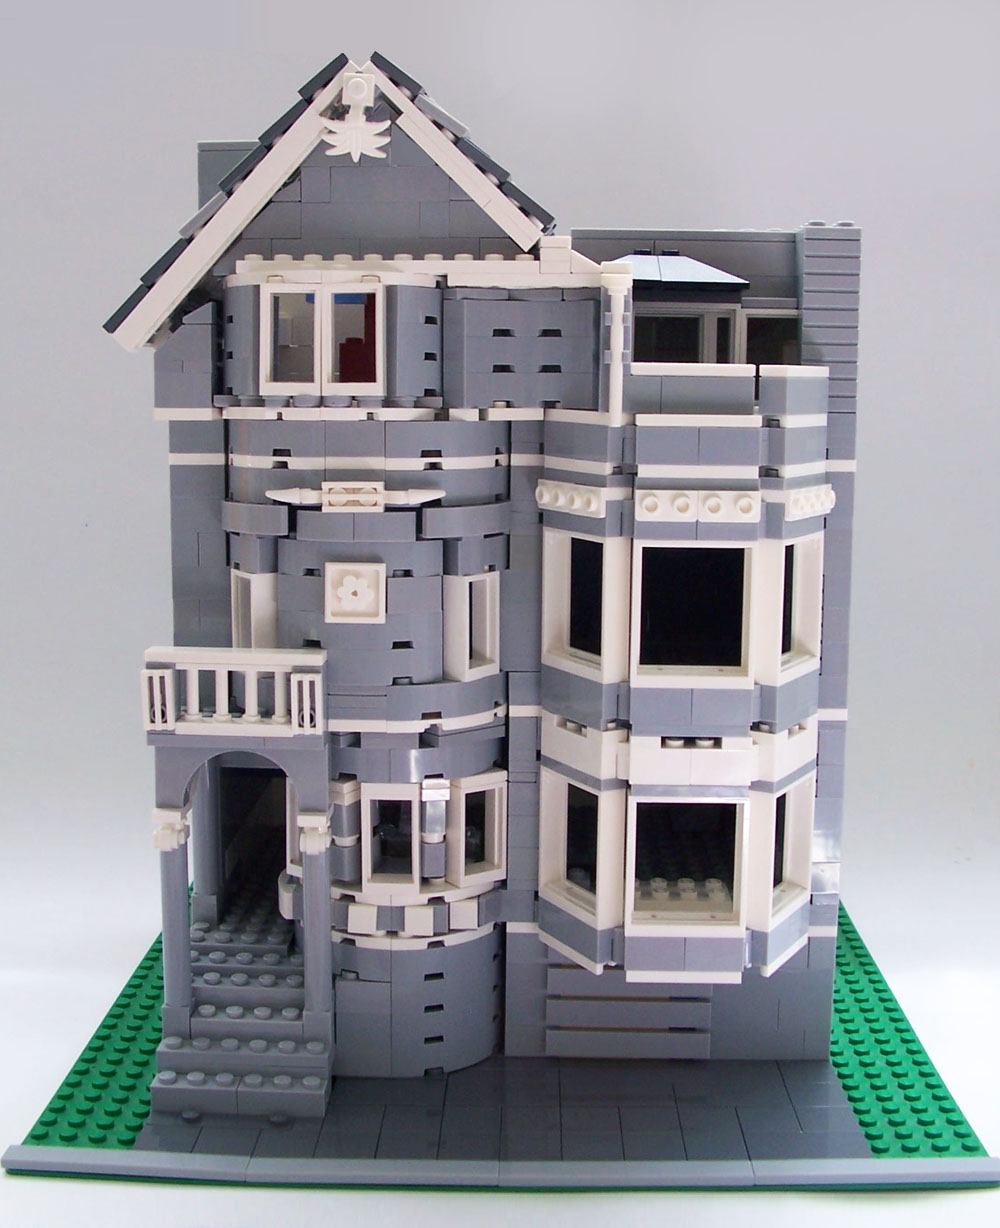
After a few minor fixes, I was finally done with the entire house.
And here is the finished house: