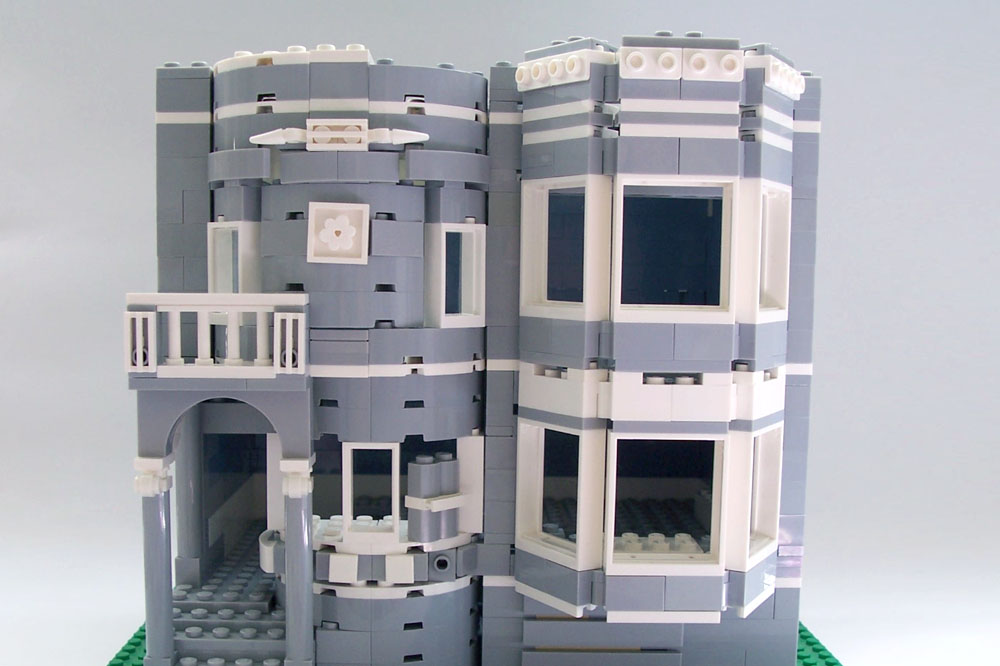
Welcome back to the Builder’s Block! If you haven’t seen Part 1 of my LEGO Victorian house project, please check it out here. Last time, I left off a completed first floor, so now I’m building the second floor, which is dominated by two bay windows. The right bay window is going to be an extension of the one below it, as show below.
The bay window turned out to be nice fit. As it turns out, I didn’t need to worry about how the right bay windows would be out of proportion.
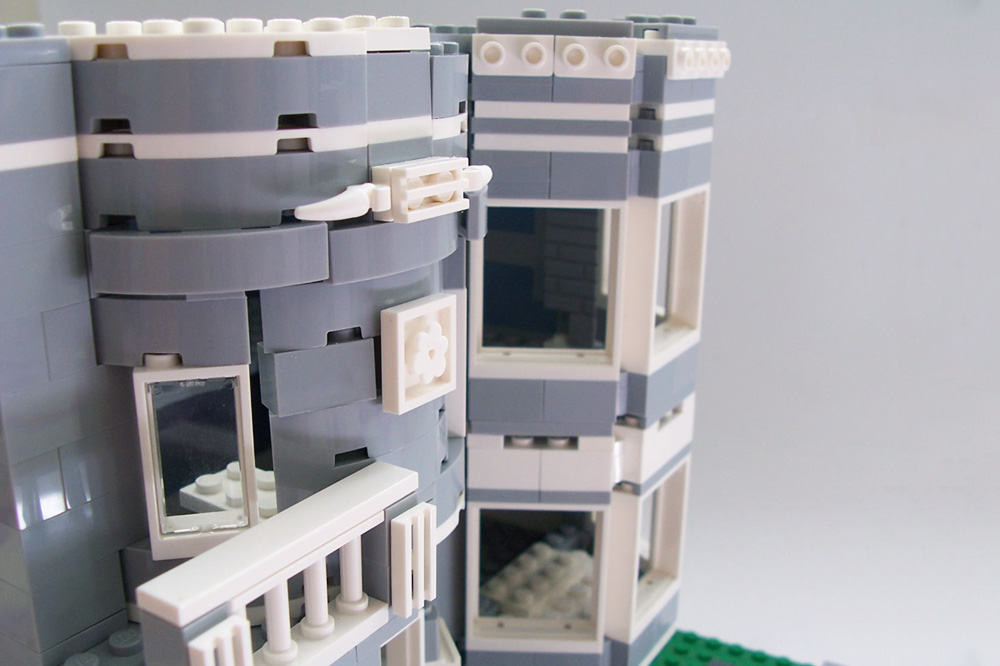
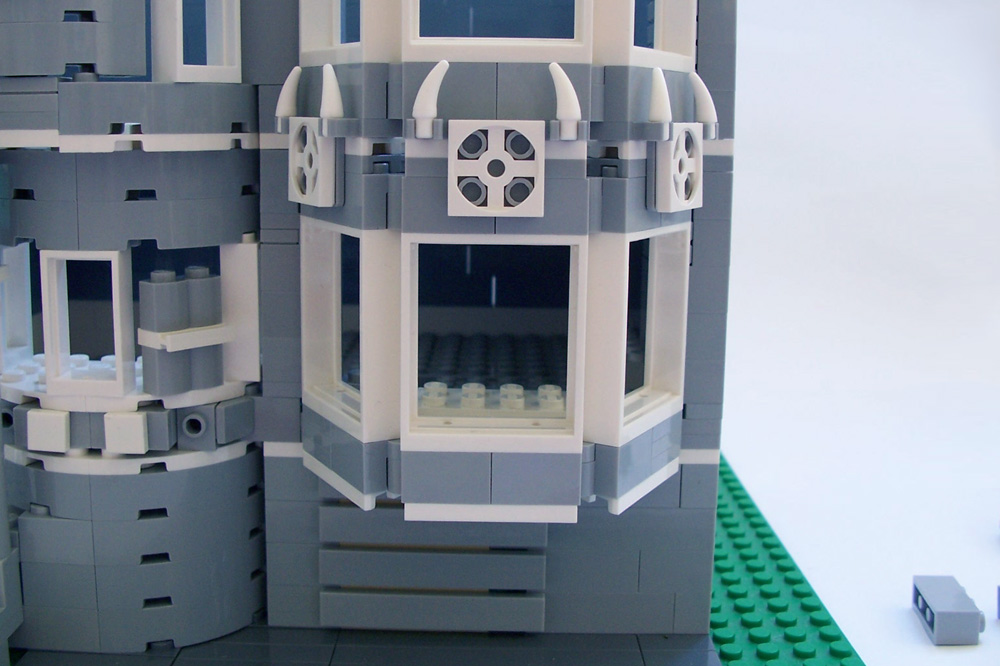
The design of the left bay window was worked out in advance. It’s mostly made up of the arch bricks and a panel of arch bricks I managed to wedge in between (the center panel). Some purist LEGO fans might call this an “illegal connection,” but sometimes looks outweigh stability. LEGO’s original intention in making its building blocks was to have a sturdy connection between each brick. An illegal connection is anything that is against the conventional stud-and-tube coupling system.
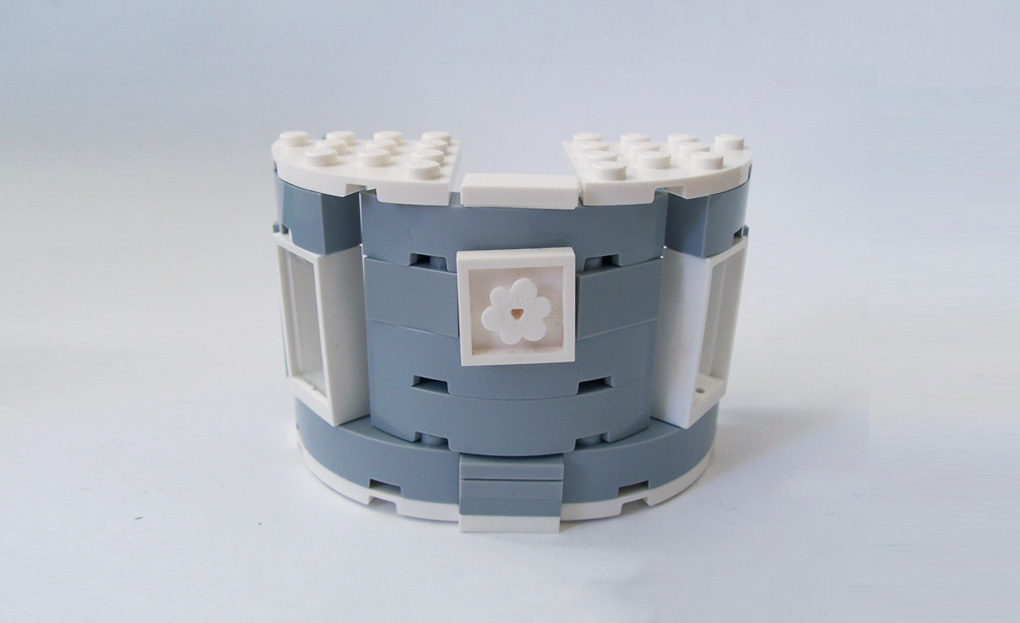
This is what the rounded bay window looks like when installed:
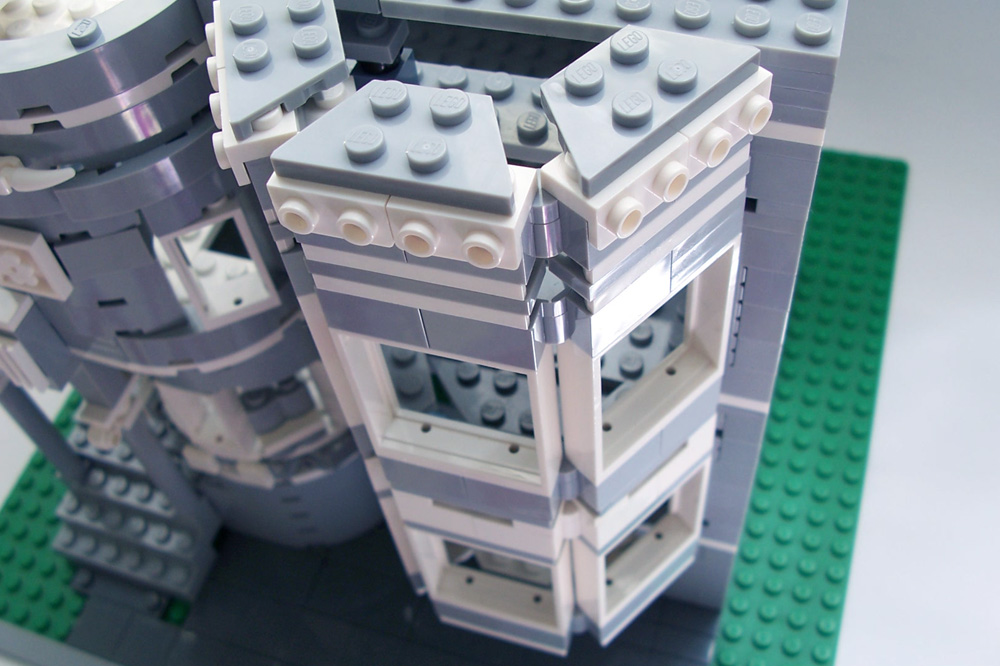
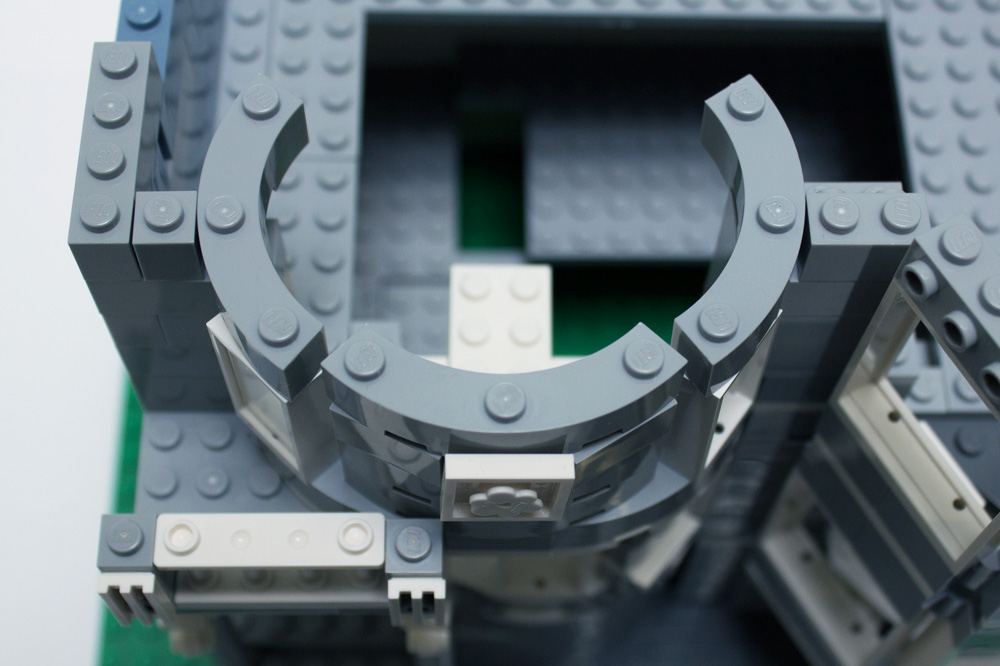
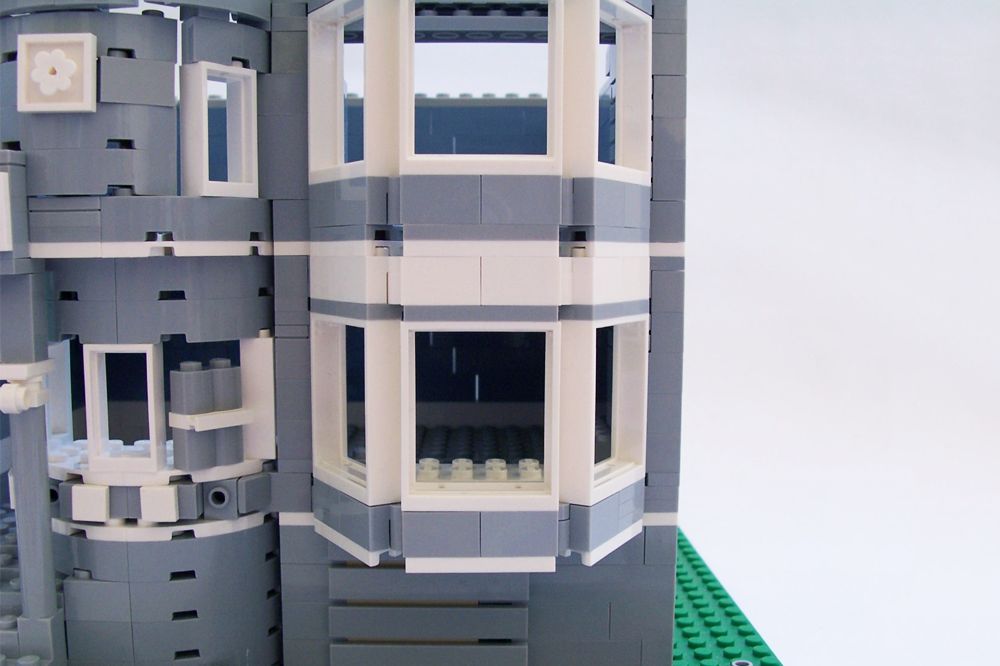
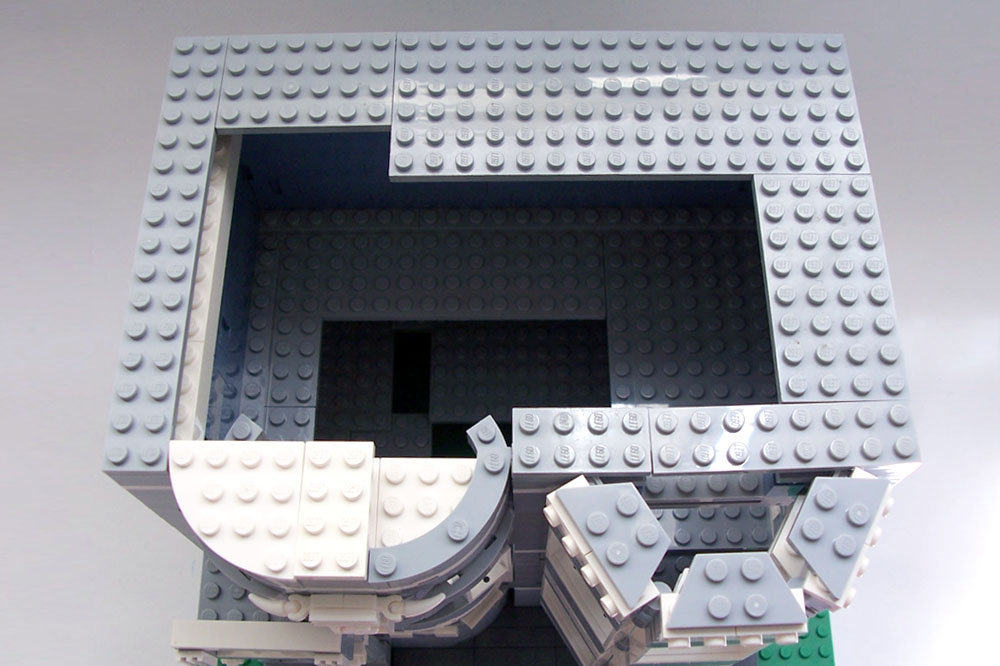
Below you can see the methods I used to transition from the bay window unit to the normal building structure, ultimately finishing with complete coverage. Since I’m aiming for a clean transition and an even, realistic surface, this is a necessary step. If I left the bay window like this (below), the pieces would not match up and the second floor would look disastrous.
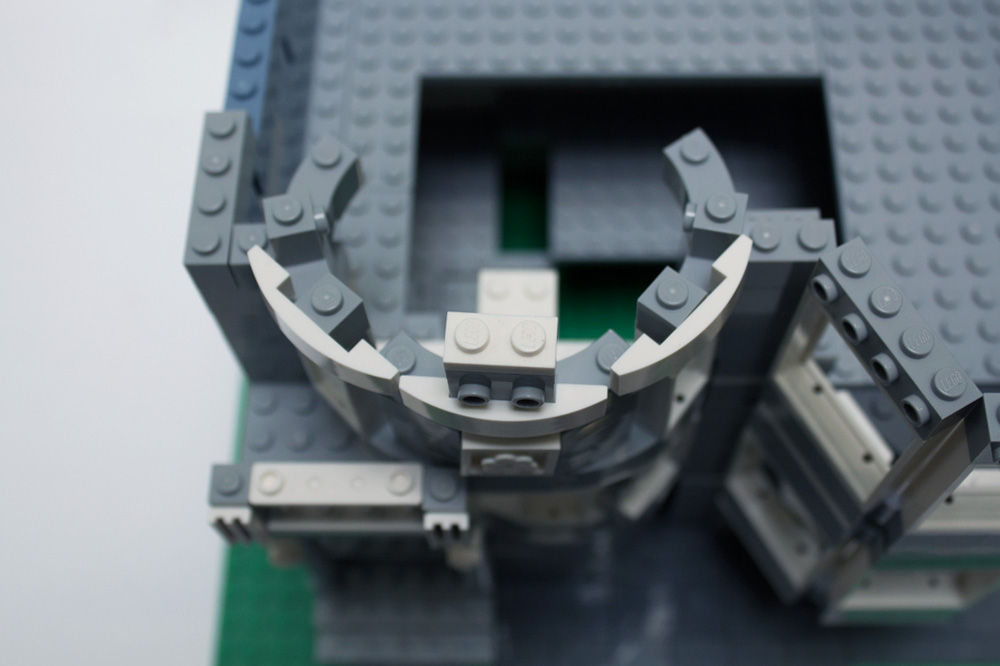
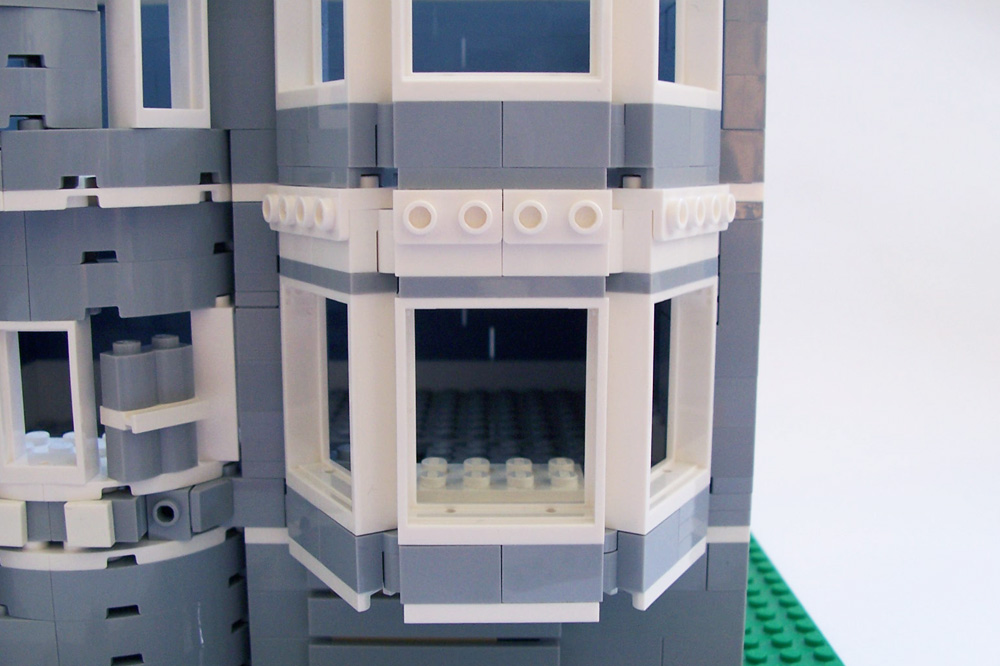
I’m using some white bow bricks, which I later changed to light gray, to hide the blocky edges.
I’m also adding some plates to complete the transition.
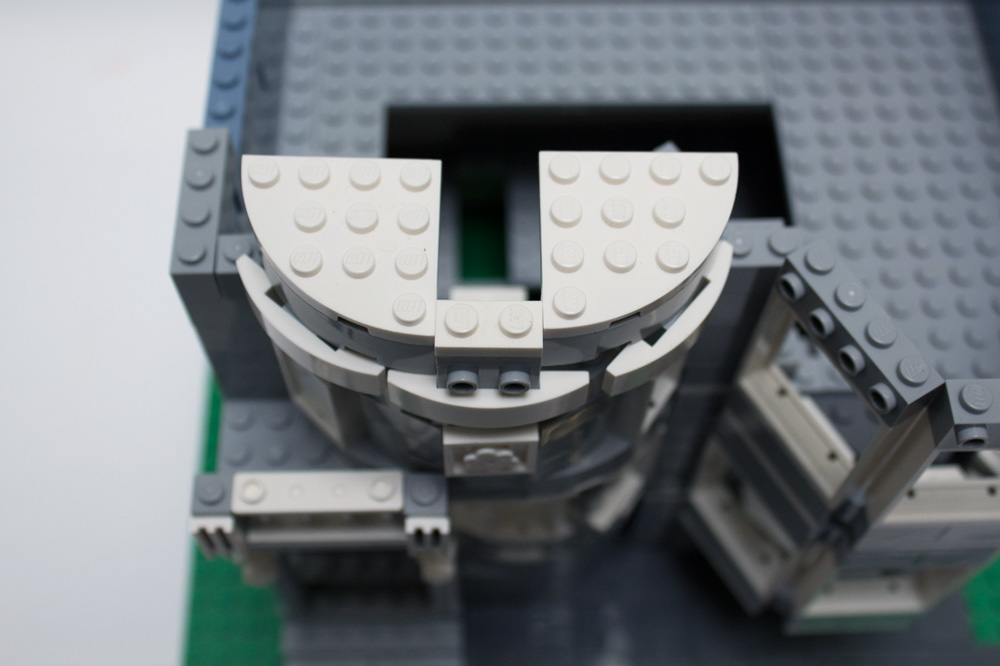
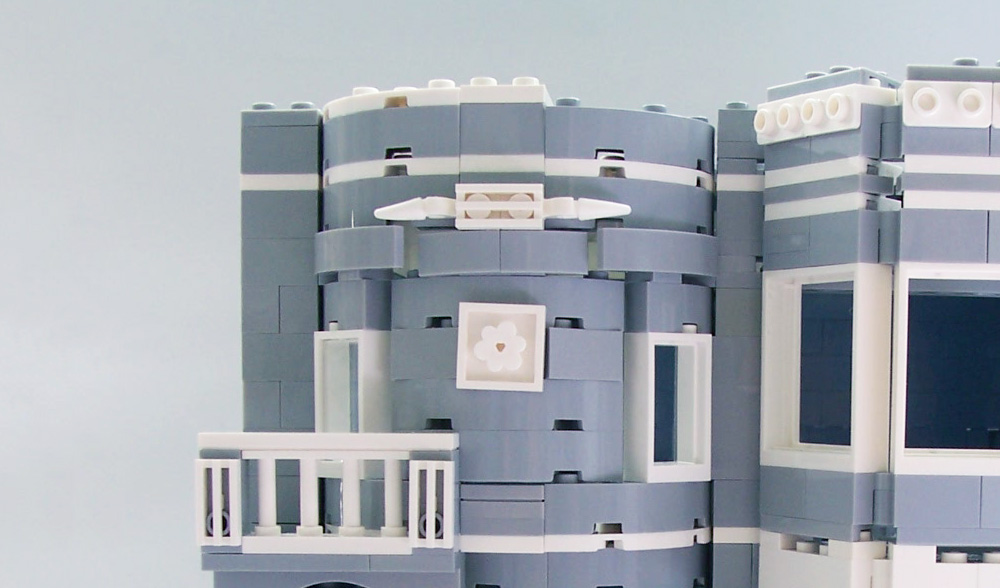
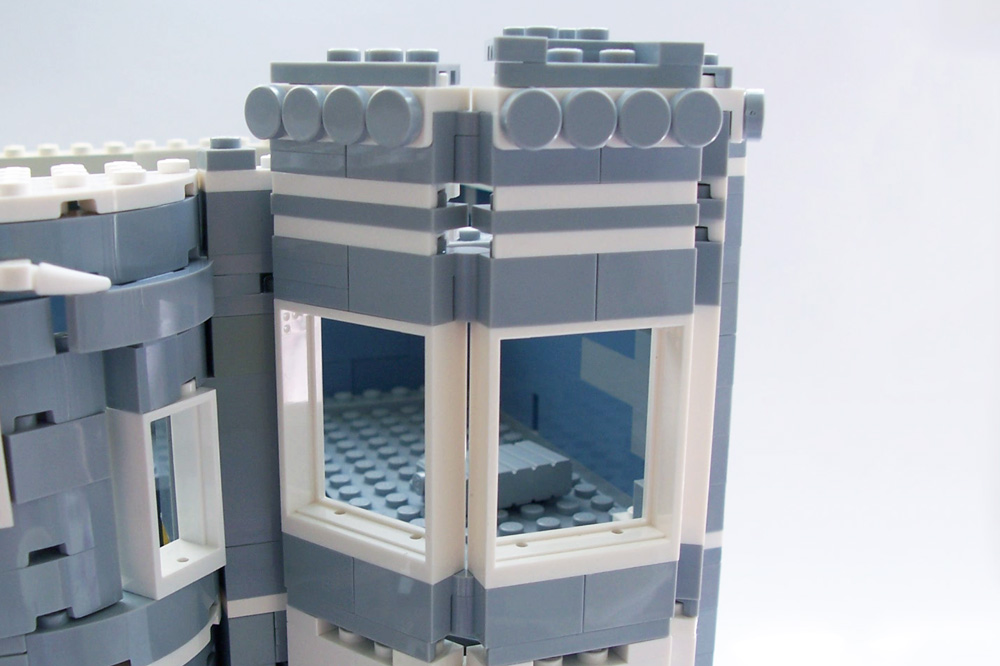
Now the transition is complete and it’s time to return to building in a more conventional way. Overall, structuring the second floor took less time than the first floor, but now there’s the detailing to be done. I would hate to overdo the details, as I mistakenly did on my first Victorian house. Here is a test shot of some detailing options:
Fancy.
Plain.
Subtle.
Dotted.
I’m still deciding which one I’ll use, but for now, I’ll go with some of these “side brackets” to fill up the space. I might end up using a combination of all of these options, but we’ll see. Finally, I put just enough flooring to start building the third floor and the roof, which I will continue in the next post.
That concludes the second floor. Stay tuned for the final reveal in my upcoming post!