Welcome back to From Zero to a Game! Today, I’m going to be talking about some of the tools I’ll be using to create my game, as well as showing what kind of planning and setup need to be done even before a game can be built.
Tools
In order to create my game, I’m going to use a variety of tools, which are shown below. It is important to note that I might add to this list later on, because during the game development stage, I might need to find other tools that are better for the task that I’m working on at that time. With that being said, the tools listed below are likely going to be the tools that I will be using 99% of the time.
- Vim is an archaic text editor with tons of good features. I particularly enjoy Vim because of it is easy to navigate without having to move the mouse with my hand. You can find my exact Vim setup here on GitHub.
- Gcc is a compiler, which basically translates the code that a programmer writes into “machine language” so that the computer can run the program.
- When it comes to debugging, I mostly do it manually (i.e. outputting values into the console), but I will also sometimes use GDB as my debugger.
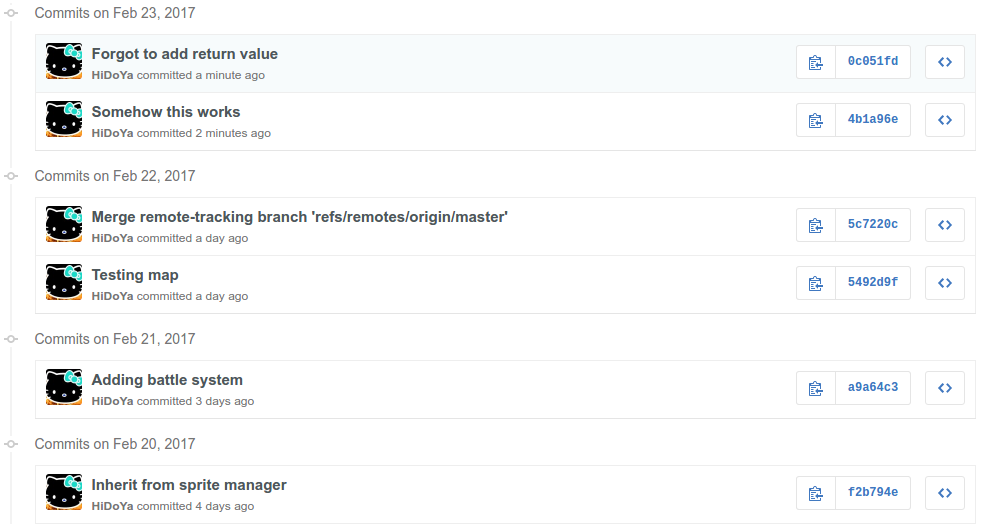
- I use GitHub primarily for version control. This essentially means that GitHub stores my code so I can restore an old version of my game at anytime, and additionally keep track of all my changes. Another benefit is that other people (such as you) can go look at my code, if you’re into that kind of stuff.
- Photoshop, Piskel, and GIMP are used for creating or editing graphics. Although I intend to use Photoshop for most of the graphics, but for intensive tasks such as map creation, I’ll sometimes use GIMP (a Linux alternative to Photoshop) because I run Ubuntu on my main computer. I’ll also sometimes use Piskel, a simple web-application for creating sprite animations (a.k.a. Pixel art) that has some useful tools, such as automatic creation of sprite sheets.
- Audacity is a solid audio editor. I’m mostly going to be using it to trim and cut audio clips.
- The SFML Library is a 2D multimedia library for C++. I’ll be using this library to simplify the process of displaying graphics and playing audio.
- Trello and Evernote are task management and note taking applications. These productivity applications help me organize all my spontaneous game ideas and to break up the game development process into smaller manageable tasks.
Planning
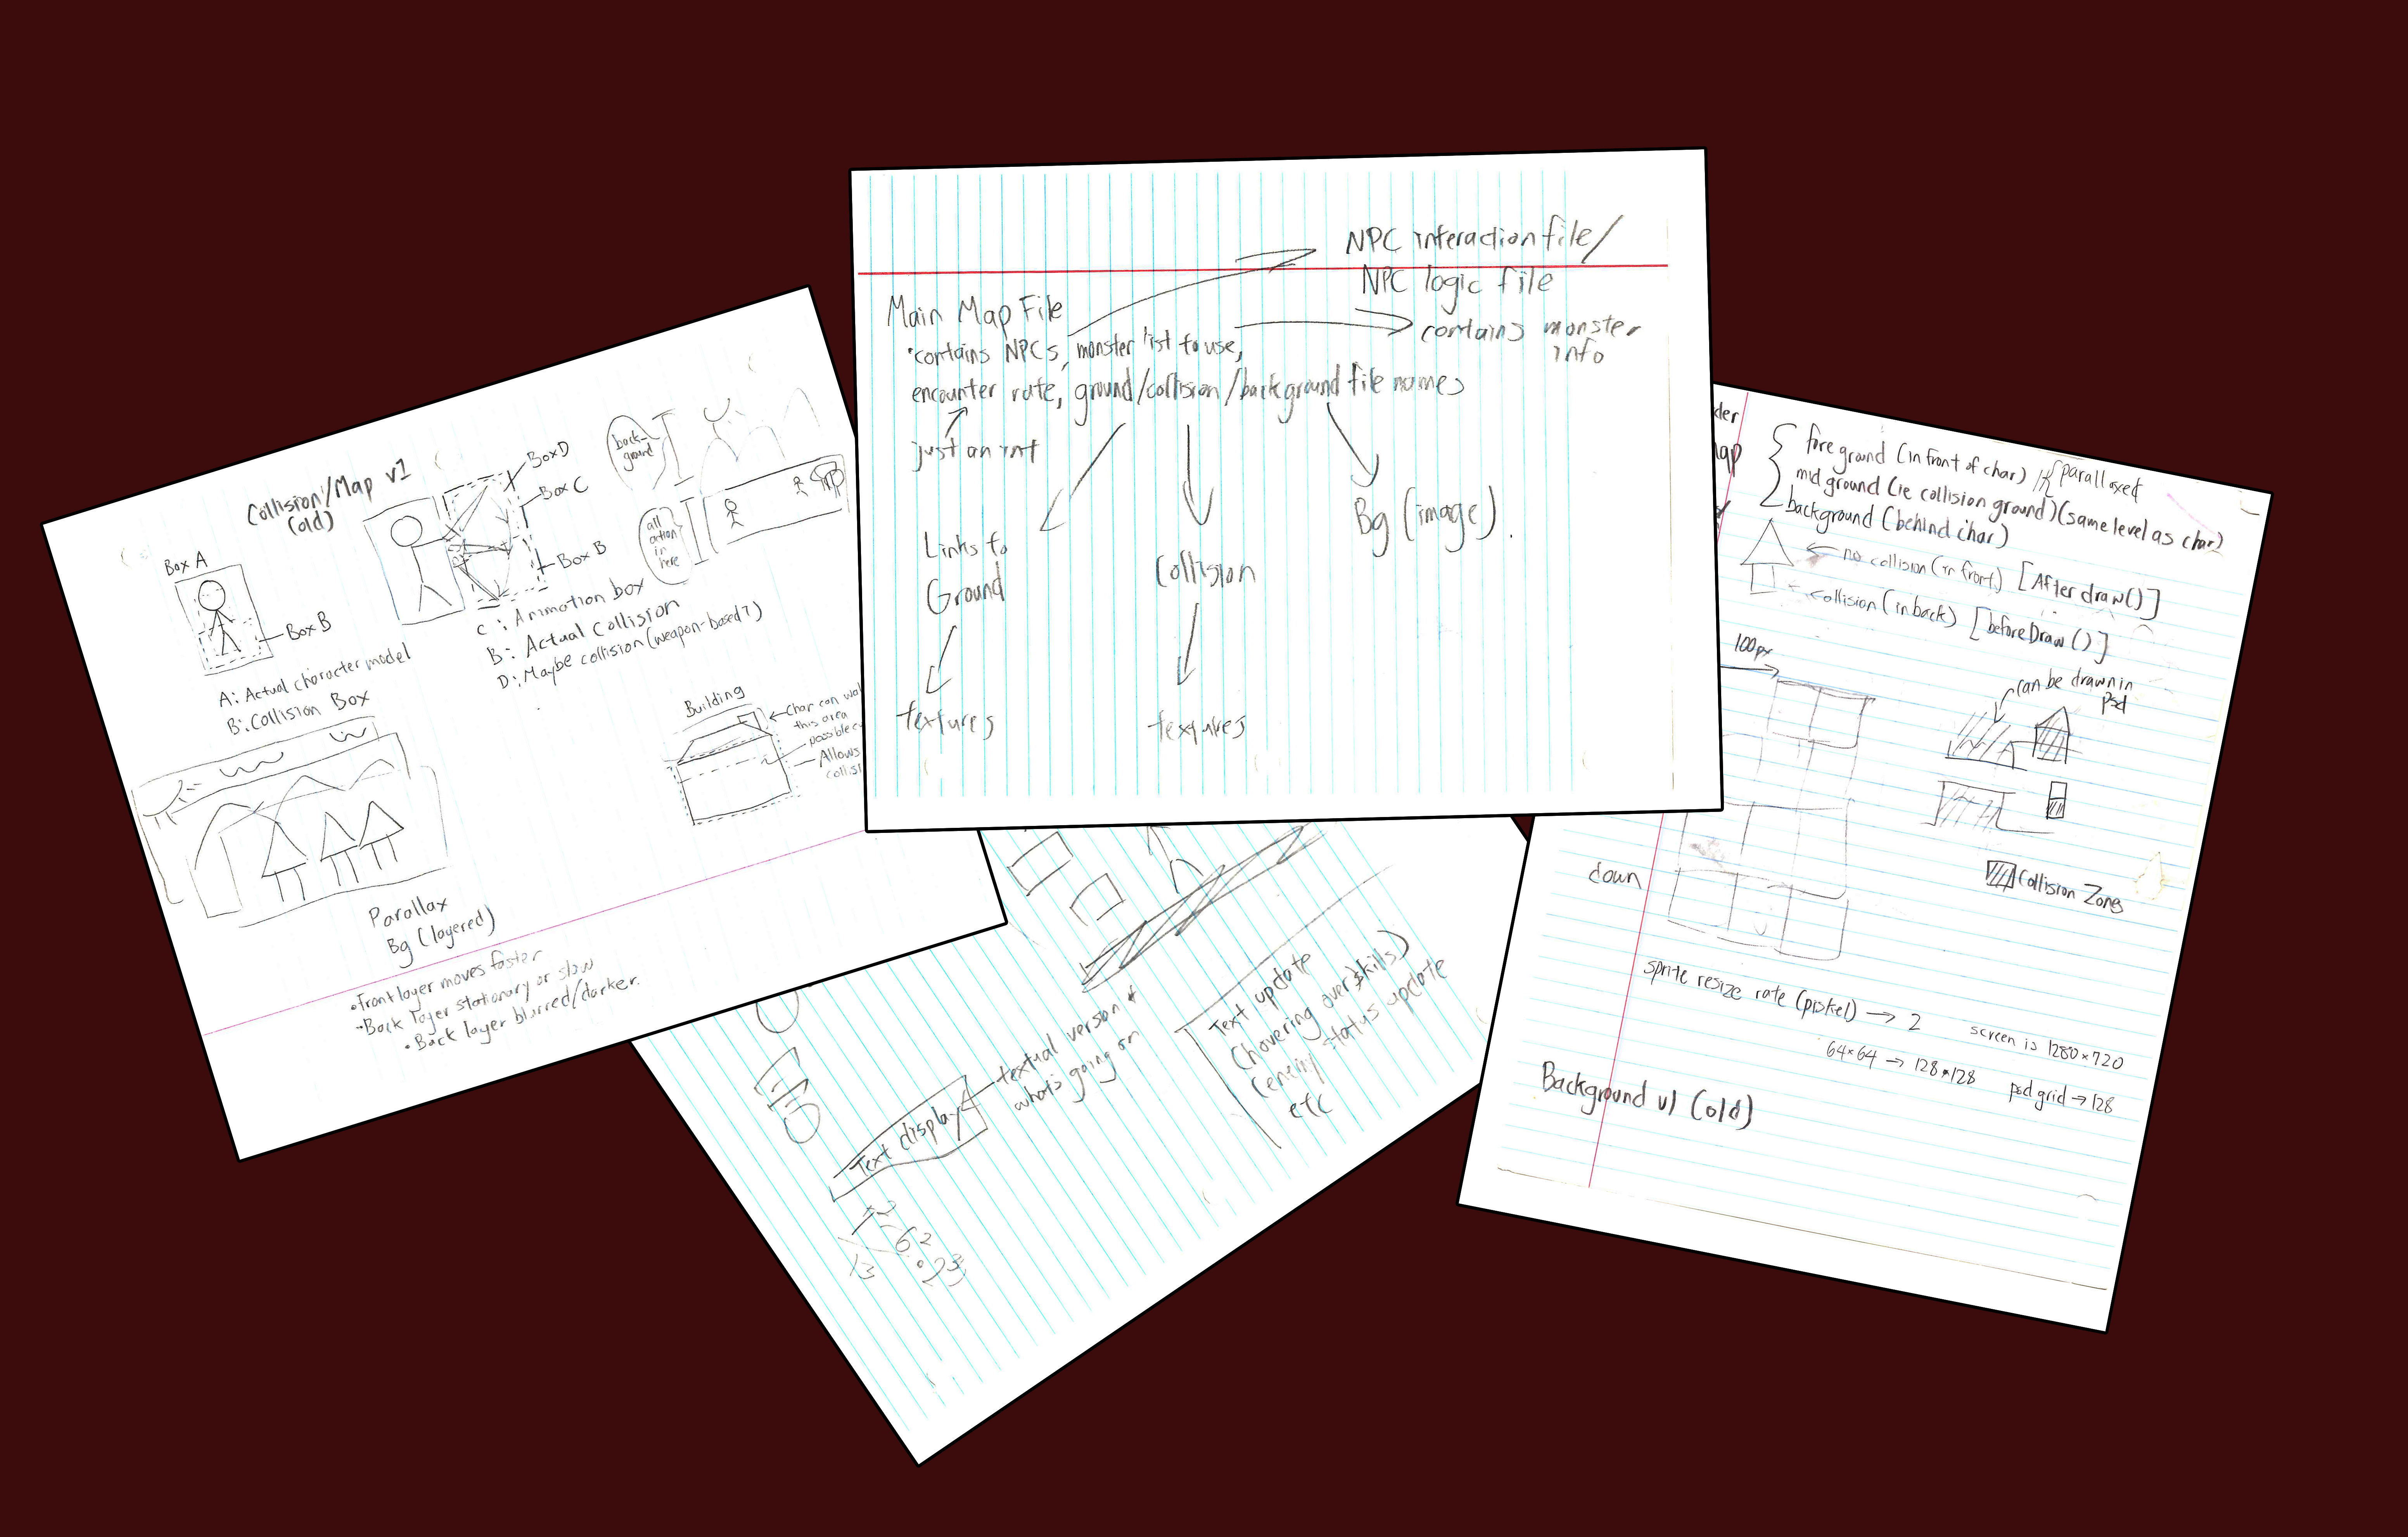
Planning out how a game is going to look before you immediately start creating and programming the game can be very helpful in terms of guiding the direction of the game. This is my first medium-sized project that I’m working on, so it is somewhat difficult to plan out all the aspects of my game, but nonetheless, some planning process is better than none.
A lot of programmers find merit in using pen and paper to get their thoughts down before jumping straight into coding, while other programmers write out all their thoughts on whiteboard. Some use flowcharts and graphical representations of their program, while others prefer to list out ideas. In my initial planning, I took advantage of a variety of these strategies.
A common mistake for beginners is to try to make the next AAA Call of Duty or a MMORPG for their first or second game. Instead of having such a broad and unrealistic goal, it is important to have realistic expectations as a beginner. Thus, I have to make sacrifices in certain aspects of my game in order to achieve my main goals.
My central goal in terms of storyline is to force the user into a moral dilemma. In terms of game mechanics, I’m planning on making the game have a traditional JRPG feel with turn-based battle. Many of you might be familiar with turn-based battling from games like Pokemon or Chrono Trigger, where the battle system is essentially composed of a repetition of the player and enemy attacking each other until one side loses.
Chances are that no matter how thorough your initial planning is, once you get into the development process, you are bound to add or remove some things from your plan. I think it is good to keep that in mind and to allow yourself to be flexible in order to prevent yourself from being confined by a rigid plan.
Classes
Since I plan to make a RPG, I’d imagine I will need characters, text boxes, maps, UI, battles, and other elements in the game. In order to help me create these different types of elements in my game, I’m going to be using object-oriented programming. In programming, there are different types of programming such as procedural programming and functional programming, but with object-oriented programming, the program revolves primarily around objects.
I like to think of object-oriented programming as creating cookie cutters for your program. In other words, let’s say I wanted to create ten cookies that are clover-shaped. Instead of shaping each individual cookie to be clover-shaped, I can just create a cookie cutter which would let me easily create clover-shaped cookies. With just one cookie cutter, I would then be able to make many cookies. The cookie cutter would essentially hold the information about what kind of shape to make the cookie, but I would still be able to vary other aspects of the cookie such as whether I add sprinkles or not.
In this analogy, the cookie cutter is the “class,” the cookies are “objects,” and each individual cookie in an “instance.” For instance, I can make a class for NPCs (non-player characters), and with that, I would be able to create different instances such as NPC Bob and NPC Ann. This analogy isn’t perfect though—it breaks down once I begin delving into topics such as member functions and inheritance, but nonetheless, it is a simple and effective way of looking at how object oriented programming works.
If that explanation doesn’t make much sense, it’s okay; I’ll be explaining the classes I create and what they do as I go on.
Setting Up
Among one of the first things I created for this project was a Makefile, which basically simplifies the process of compiling my program, especially when I start adding more classes. If I don’t have a Makefile, I have to type this entire command every time:
g++ -std=c++11 -c main.cpp
g++ main.o -o my-game -lsfml-graphics -lsfml-window -lsfml-system -lsfml-audio
That isn’t even the end of it. For each class that I later create, I’d also have to compile those files individually, meaning I’d have to type those same commands over and over, which is far from time efficient. However, with a Makefile, all I have to type is “make” and the program should automatically compile (essentially type) all of the above for me. If I ever wanted to add more classes to my game, all I have to do is change that one Makefile, and I’d never have to worry about it again. With the current iteration of my game, it takes just under five minutes to compile without a Makefile, but only takes five seconds to compile with a Makefile.
I also created a GitHub repository to store all my project files as well as a .gitignore file which gives me more control over what I upload to GitHub. Without it, a lot of unneeded files (such as .o files) would make its way into my GitHub repository.
I also created a basic folder structure where I will be storing all my images, audio, and code. I’ll most likely be adding to the structure in the future, but for now, I have folders called “Include,” “Images,” and “Audio” in my main directory. It’s useful to have some sort of organization system because, when programming, files for different purposes quickly pile up, and if you don’t keep them organized, it can come back to bite you later.
After getting past the bulk of the setup and initial planning, I’m ready to start developing! Tune in next time to see me start to create a functioning game.